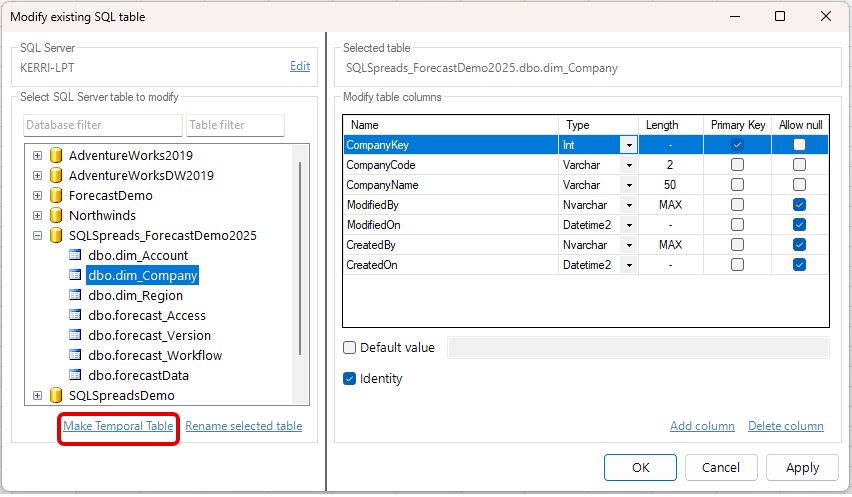
This feature allows you to modify the columns in an existing SQL Server table.
The actions that can be performed are:
- Change the properties of an existing column:
- Change column name
- Change column data type
- Set column as Primary Key
- Set column to allow null
- Set a default value for the column
- Set the column as an identity column
- Add a new column to a table
- Delete an existing column from a table
- Rename a table
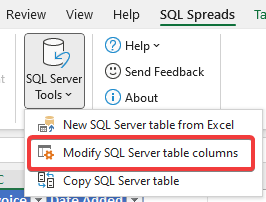
To access this feature, click on the Modify SQL Server table columns button in the SQL Server Tools menu.
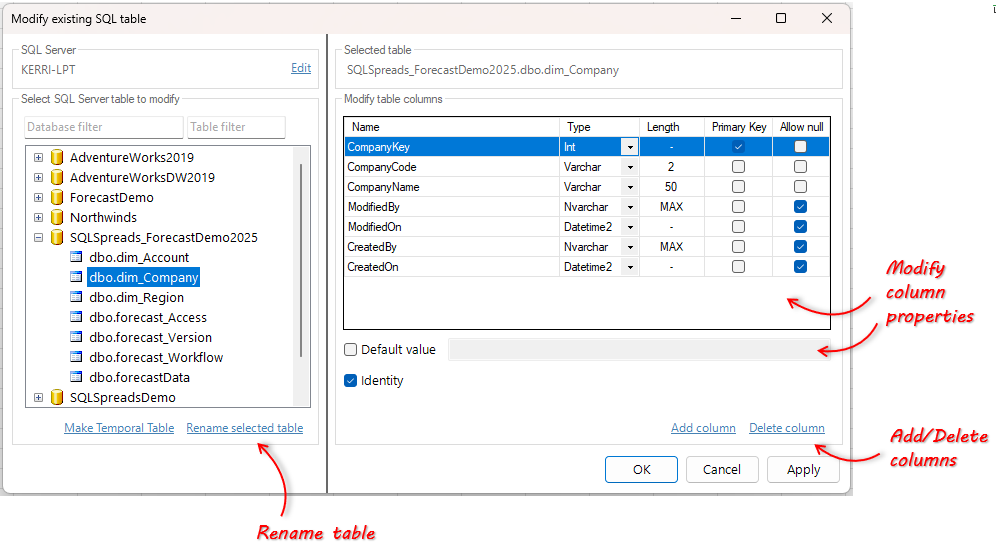
The Modify existing SQL Server table dialog is shown below:
Change the properties of columns
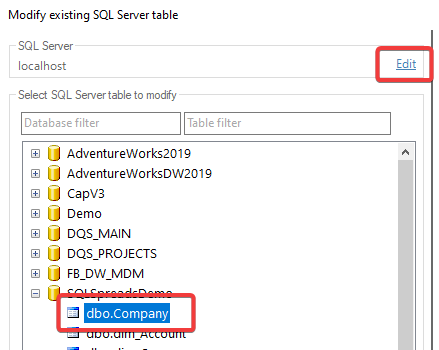
From the left pane of the Modify existing SQL Server table dialog, select the table that contains the columns that you want to modify. Note that you can also change to a different server by clicking the Edit button to the right of the SQL Server name.
In the right-hand pane, the columns for the selected table are displayed. You can now modify one or more of the columns as needed.
To change the column name, simply click in the Name cell of of the column you want to change and type the new name.
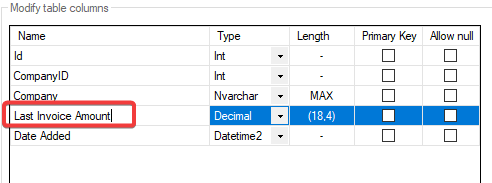
To change the Type, click the Type drop down list and select another data type:
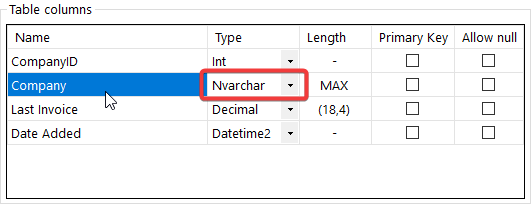
For the following data types you can also specify the exact size of the column in the database:
- Varchar and NVarchar: Can be set to the max number of characters or MAX to auto-adjust the size based on the content in the column.
- Decimal and Numeric: The length must be entered as '(7,3)' where the first number is the total number of figures and the last number is the number of figures after the decimal separator.
You can set a specific column to be the Primary Key by checking the Primary Key box.

If your columns should allow nulls, then check the Allow null box for each required column.

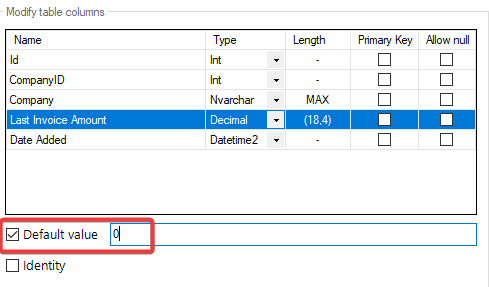
You can set a default value for a column to use when the user does not enter any value when inserting new rows. To set a default value, select the column and then check the Default value option and enter a value.
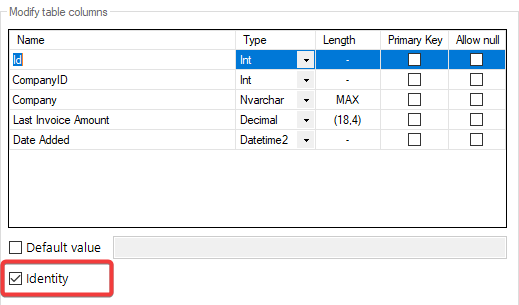
You can set one of your columns to be an auto-incrementing identity column. Select the column that you want to be the identity column and then check the Identity checkbox.
Add a new column to a table
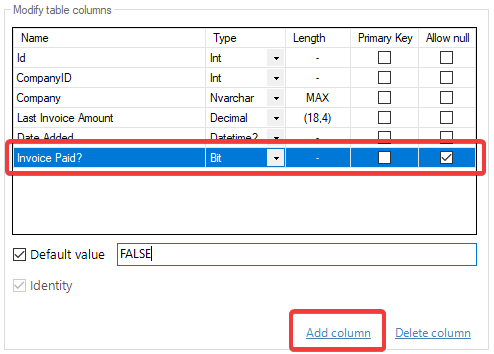
To add a new column to a table, simply click the Add column button and then enter a name and specify the data type and (optionally) other properties like whether to allow nulls and a default value.
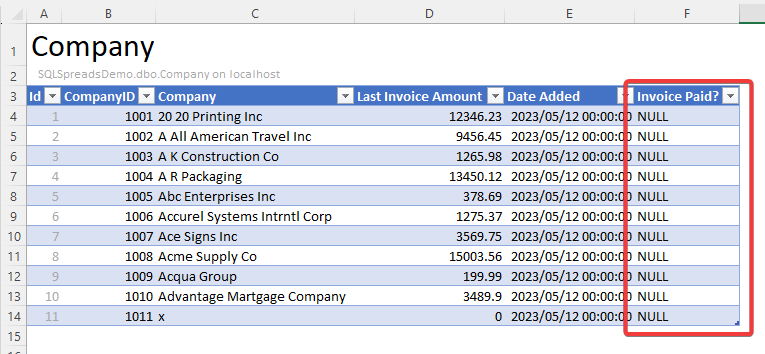
When you click OK, the column is added to the SQL Server table and the table in Excel is refreshed to show the new column.
Delete a column from a table
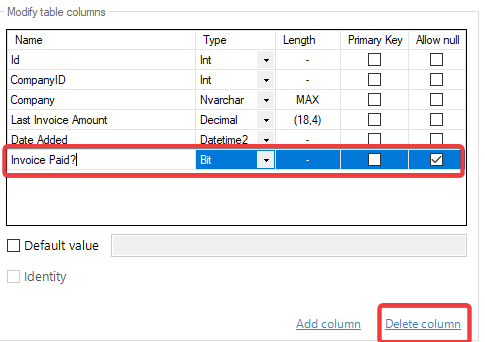
To delete a column from a table, simply select the column that you want to delete and click on the Delete column button.
The column will be deleted from the SQL Server table and the table in Excel is refreshed to remove the column also.
Rename a table
You can re-name your SQL Server table by clicking on the Rename table button and then entering the new table name in the Rename Table dialog.
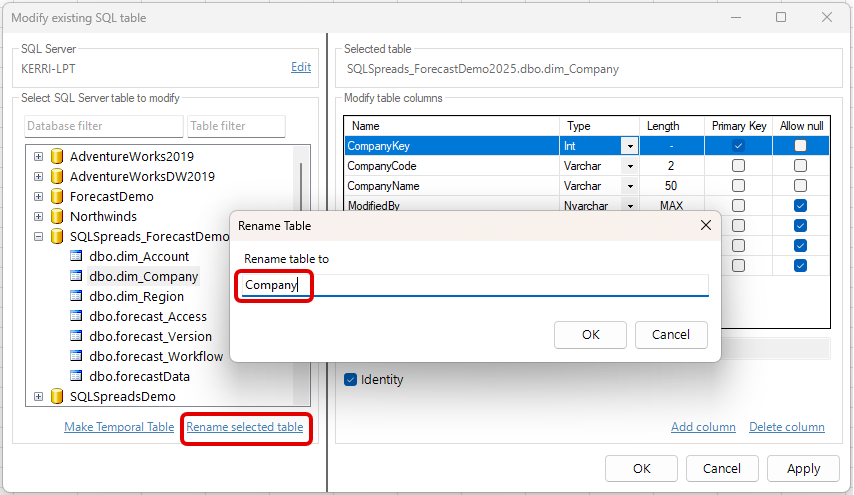
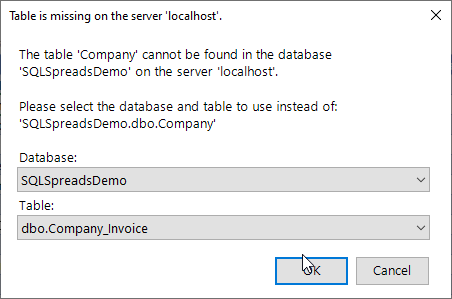
When you click OK, the SQL Server table will be re-named. If you have the renamed table selected in the SQL Spreads Designer, SQL Spreads will then prompt you to select the re-named table. Select the new table name and click OK
Make Temporal Table
This option Make Temporal Table lets you convert an existing table into a temporal table directly from SQL Spreads. Once enabled, SQL Server will automatically track all changes to the table’s data, storing previous versions in a system-maintained history table. This makes it easy to audit changes, view past data, or restore previous values without manually setting up history tracking in SQL Server.
