Create a new Database Import
For a quick start, use the SQL Spreads Designer to create a setup and then modify the Database Import and Database Mapping that was created by the Designer.
-
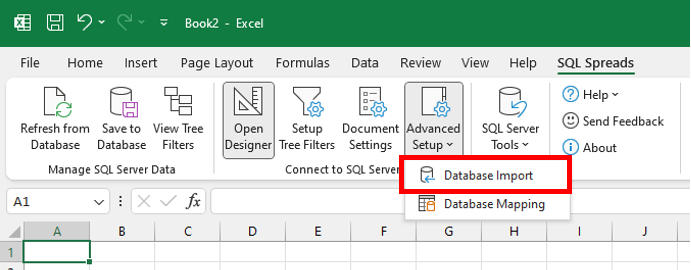
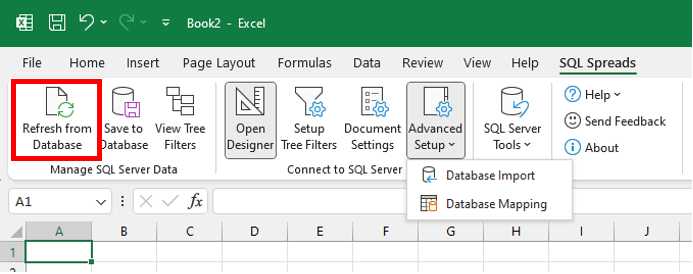
In the SQL Spreads tab in Excel, open the Advanced Setup menu and click the Database Import button
-
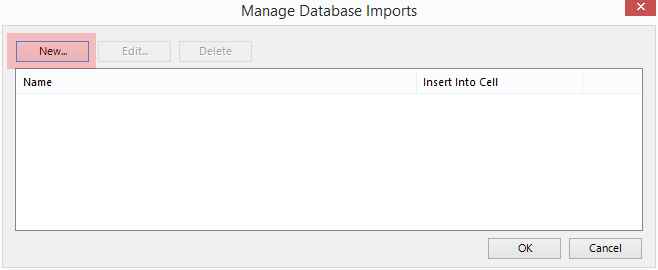
This will bring up the Database Imports dialog where you can see your existing Database Imports
-
Click New, to create a new import
-
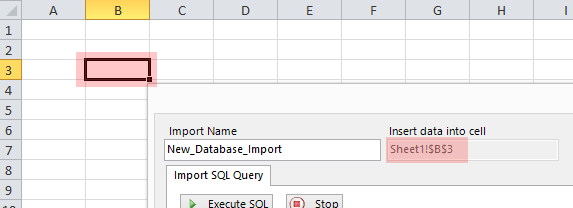
Click in a cell in the spreadsheet to select where the imported data should be inserted
-
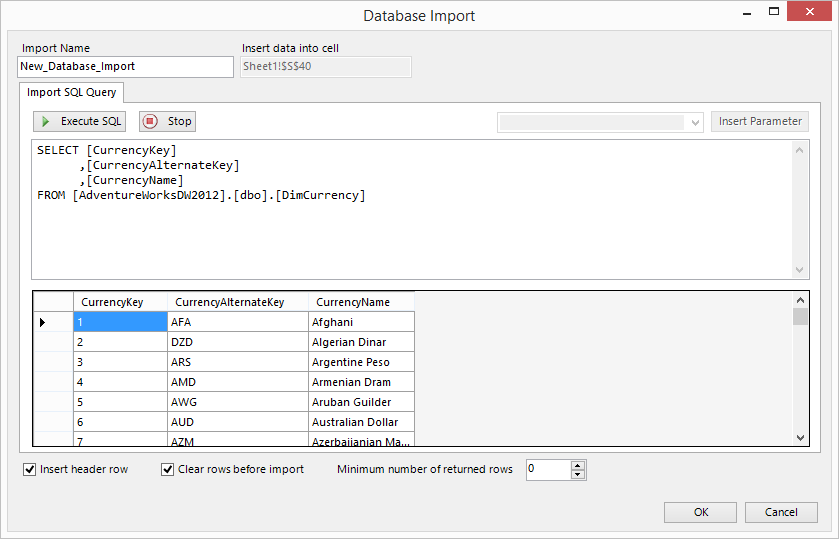
Enter a SQL Query in the Import SQL Query textbox and click Execute to test run your query
-
When the SQL Query returns the desired results, click OK
-
In the Manage Database Import dialog, click OK again
-
Save your Excel document and press Refresh from Database to load the Import Data into your spreadsheet.
You can create as many Database Imports as you like.
Using parameters in a Database Import query
There are three types of parameters that you can use in your SQL query:
Current User's Windows Login
Insert the parameter @WindowsUser into your SQL query to insert the current user's Windows Login name.
The value of the @WindowsUser parameter will be in the format DOMAIN\WINDOWS_LOGIN_NAME
Insert cell values into your SQL query
Read more under the Create a static Designer filter
Selected item in a Tree Filter
Read more under the Create a dynamic Tree Filter section.
Import Settings
Insert Header Row
If checked, SQL Spreads will insert the Column names from the table in SQL Server as header names above the first row with data in Excel.
Clear rows before import
To clear all old data before import, check this checkbox. All cells below the columns in the header row will be cleared.
Formula Rows
There are two ways to add formula rows into a SQL Spreads worksheet.
The first and easiest way is to add the formulas rows above the Excel table. Then the Formula rows will be independent of how many rows that are fetched from the table.
The second (and a bit more complex) way, is to add formula rows within a Data Mapping by specifying the row numbers in the corresponding Database Import dialog.
The row numbers are entered in a comma-separated list in the Formula Rows field at the bottom of the Database Import dialog. Row number 1 is the first row below the header row. To preserve the formulas in row 1, 10 and 15 enter the comma-separated list "1,10,15" without quotes.
Formulas in these rows are then kept and the values from the formula are inserted or updated in the database if there is a matching row key.
Minimum number of returned rows
If the returned rows from the database are fewer than the specified value, the imported data will be filled out with blank rows.