Connect to SQL Server (on-premise)
-
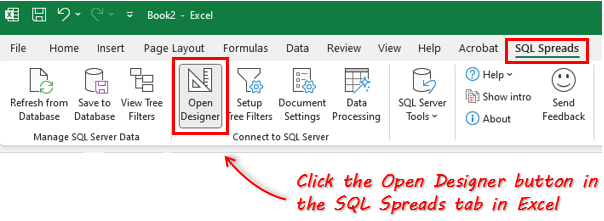
Go to the SQL Spreads tab in Excel and click the Open Designer button
-
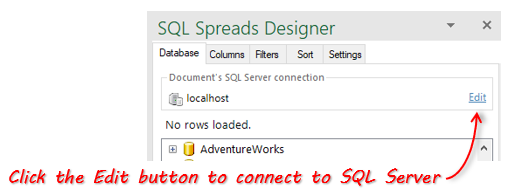
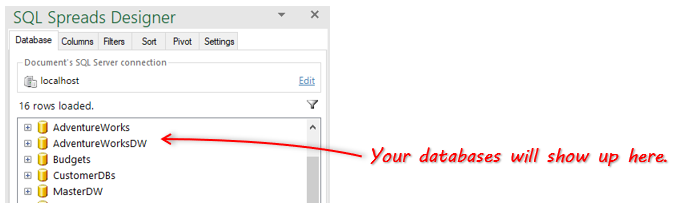
In the SQL Spreads Designer panel on the right side, click the Edit button to open the SQL Server connection dialog.
-
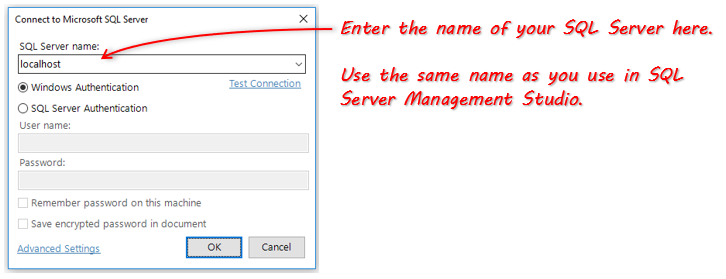
Enter the name of your SQL Server into the SQL Server name field:
| Typical server name | Case |
|---|---|
| localhost | When SQL Server is installed locally |
| localhost\sqlexpress | When SQL Server Express is installed locally |
| Domain\Servername | When SQL Server is installed in a corporate network |
| IP-address | When SQL Server is installed in a remote location |
Use the same name as when you connect to SQL Server in SQL Server Management Studio.
-
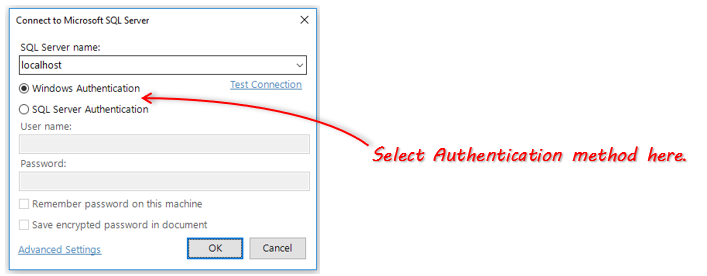
Select if you should connect using your Windows-login (Windows Authentication) or enter a user name and password (SQL Server Authentication)
-
Click OK. SQL Spreads will try to connect to the database. If the connection is successful, your databases will show up in the SQL Spreads Designer panel.
Connect to Azure SQL
SQL Spreads can be used to update and manage data in tables and views in Azure SQL databases in the same way as for an on-premise SQL Server installation.
-
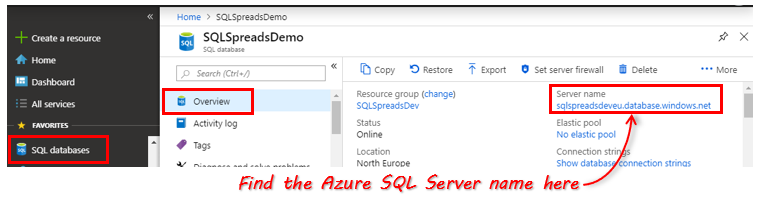
To connect to an Azure SQL database, you will have to first log in to your Azure Portal and locate the name/URL of your Azure SQL Server:
-
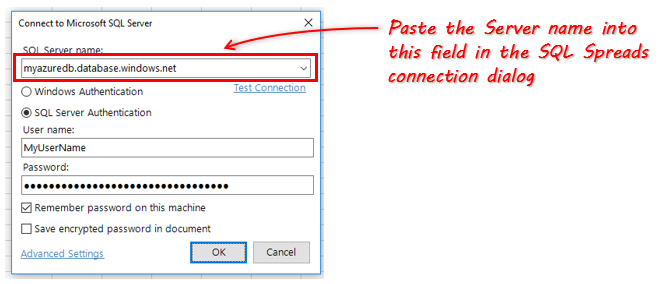
Paste the Azure SQL name into the SQL Server name field in the SQL Spreads connection dialog:
-
Enter the user name and password in the fields in the connection dialog.
You can find the Azure SQL user name if you click the Server name in the first image above:

-
Click OK.
Using Azure AD Authentication
SQL Spreads can be used in conjunction with Azure AD authentication for a more secure solution.
-
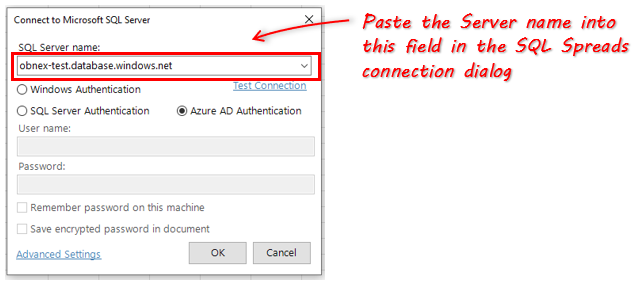
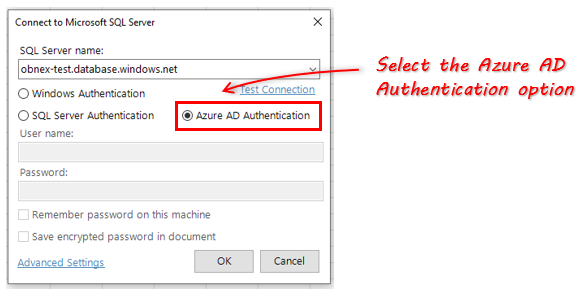
Enter the Azure SQL name into the SQL Server name field in the SQL Spreads connection dialog:
-
Select the Azure AD Authentication option:
-
Click OK.
-
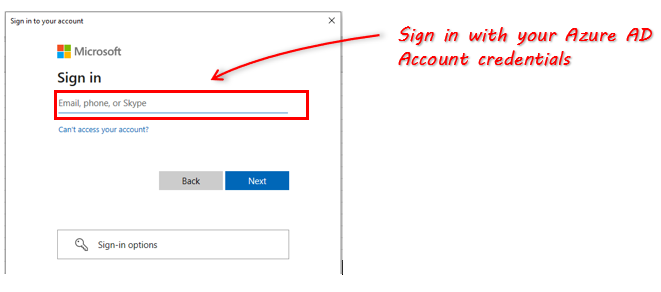
Sign in with your Azure AD Account credentials:
-
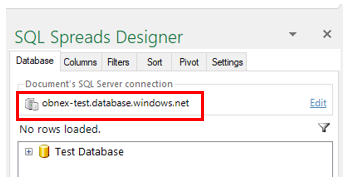
After your credentials have been verified, the connection window will disappear and your server name will be populated in the SQL Spreads Designer under Document's SQL Server connection. You can now see a list of your databases available through your Azure AD authentication connection and can begin building your SQL Spreads sheet.
If you are not sure that your connection was successful, click on the Edit button in the Database tab in the Design Mode. Then click on the Test Connection button and you will see a window pop-up with the following confirmation message "Successfully connected to the database".